Knowledge Base
FAQ
FAQ
FAQ
To enable Google Authentication (2FA), you are required to follow the below-mentioned steps:
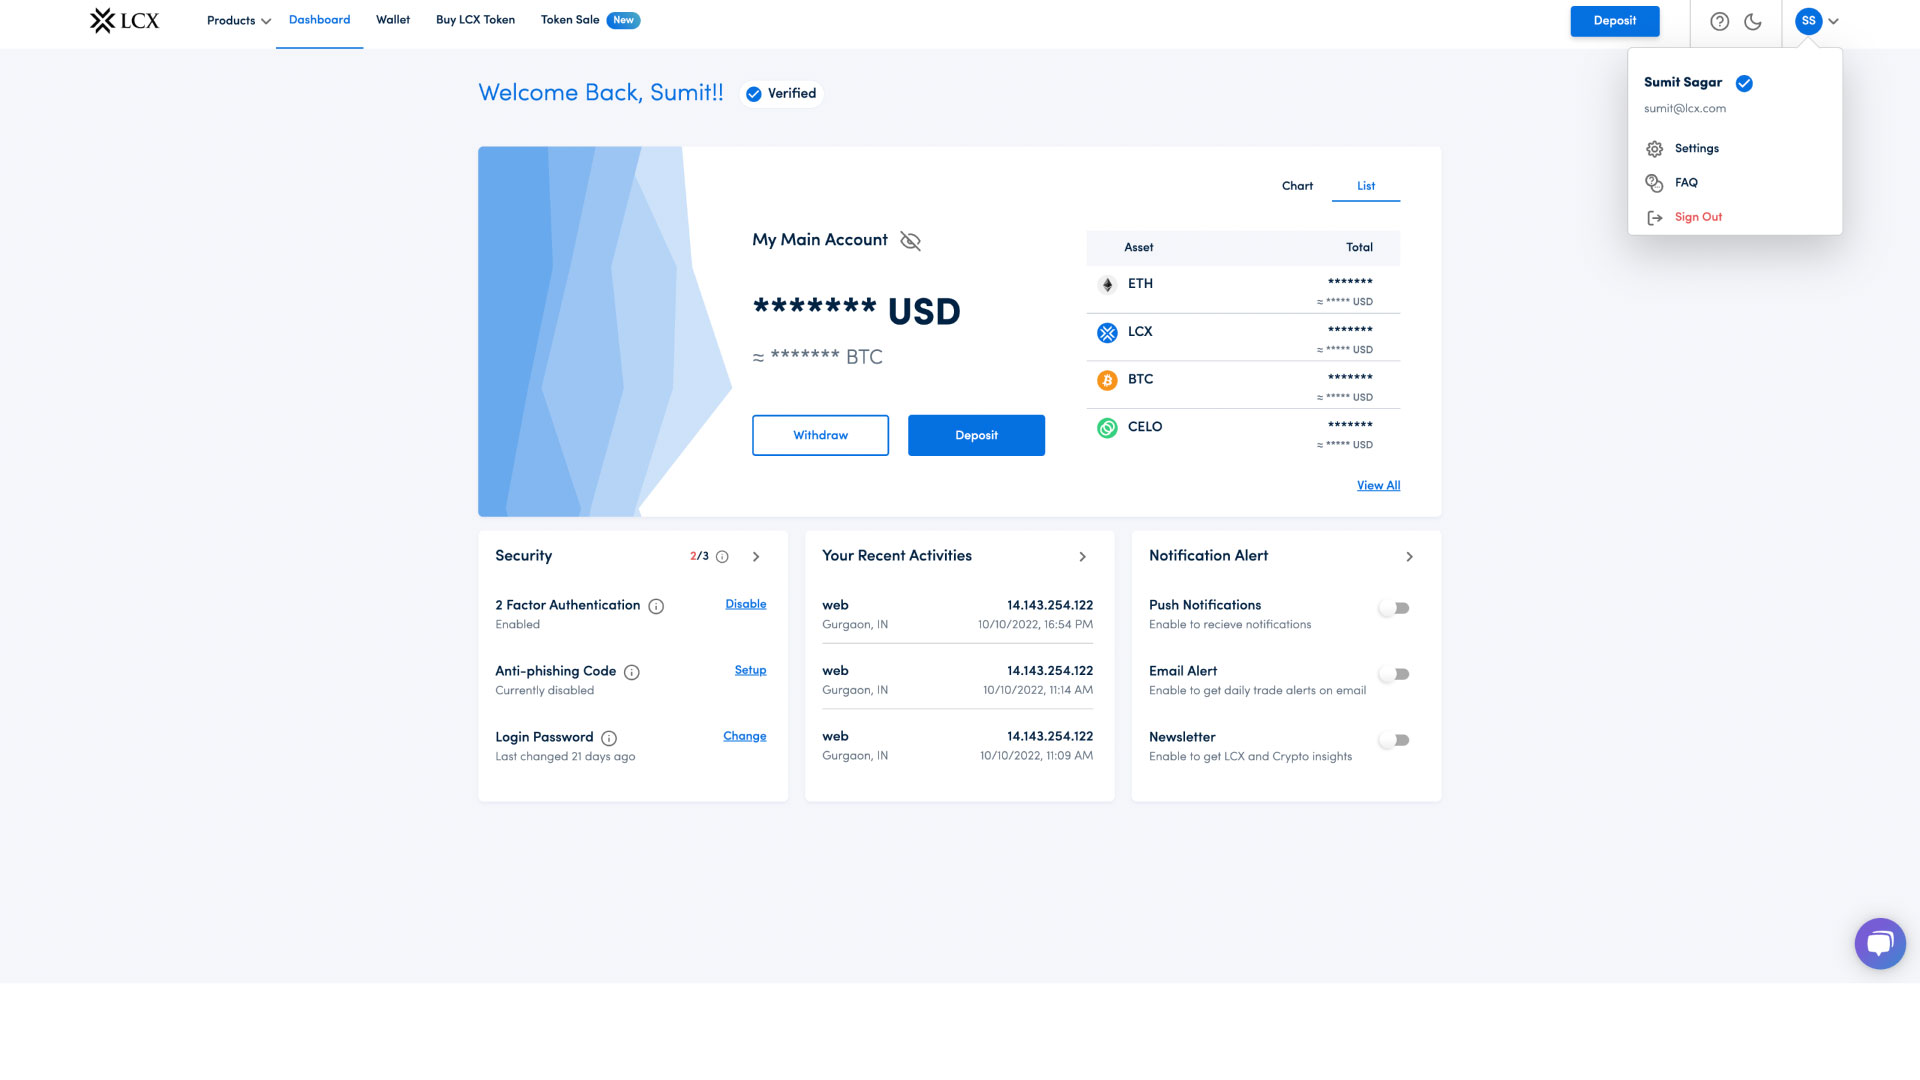
2. Click on the Profile button given on the rightmost corner > Settings.
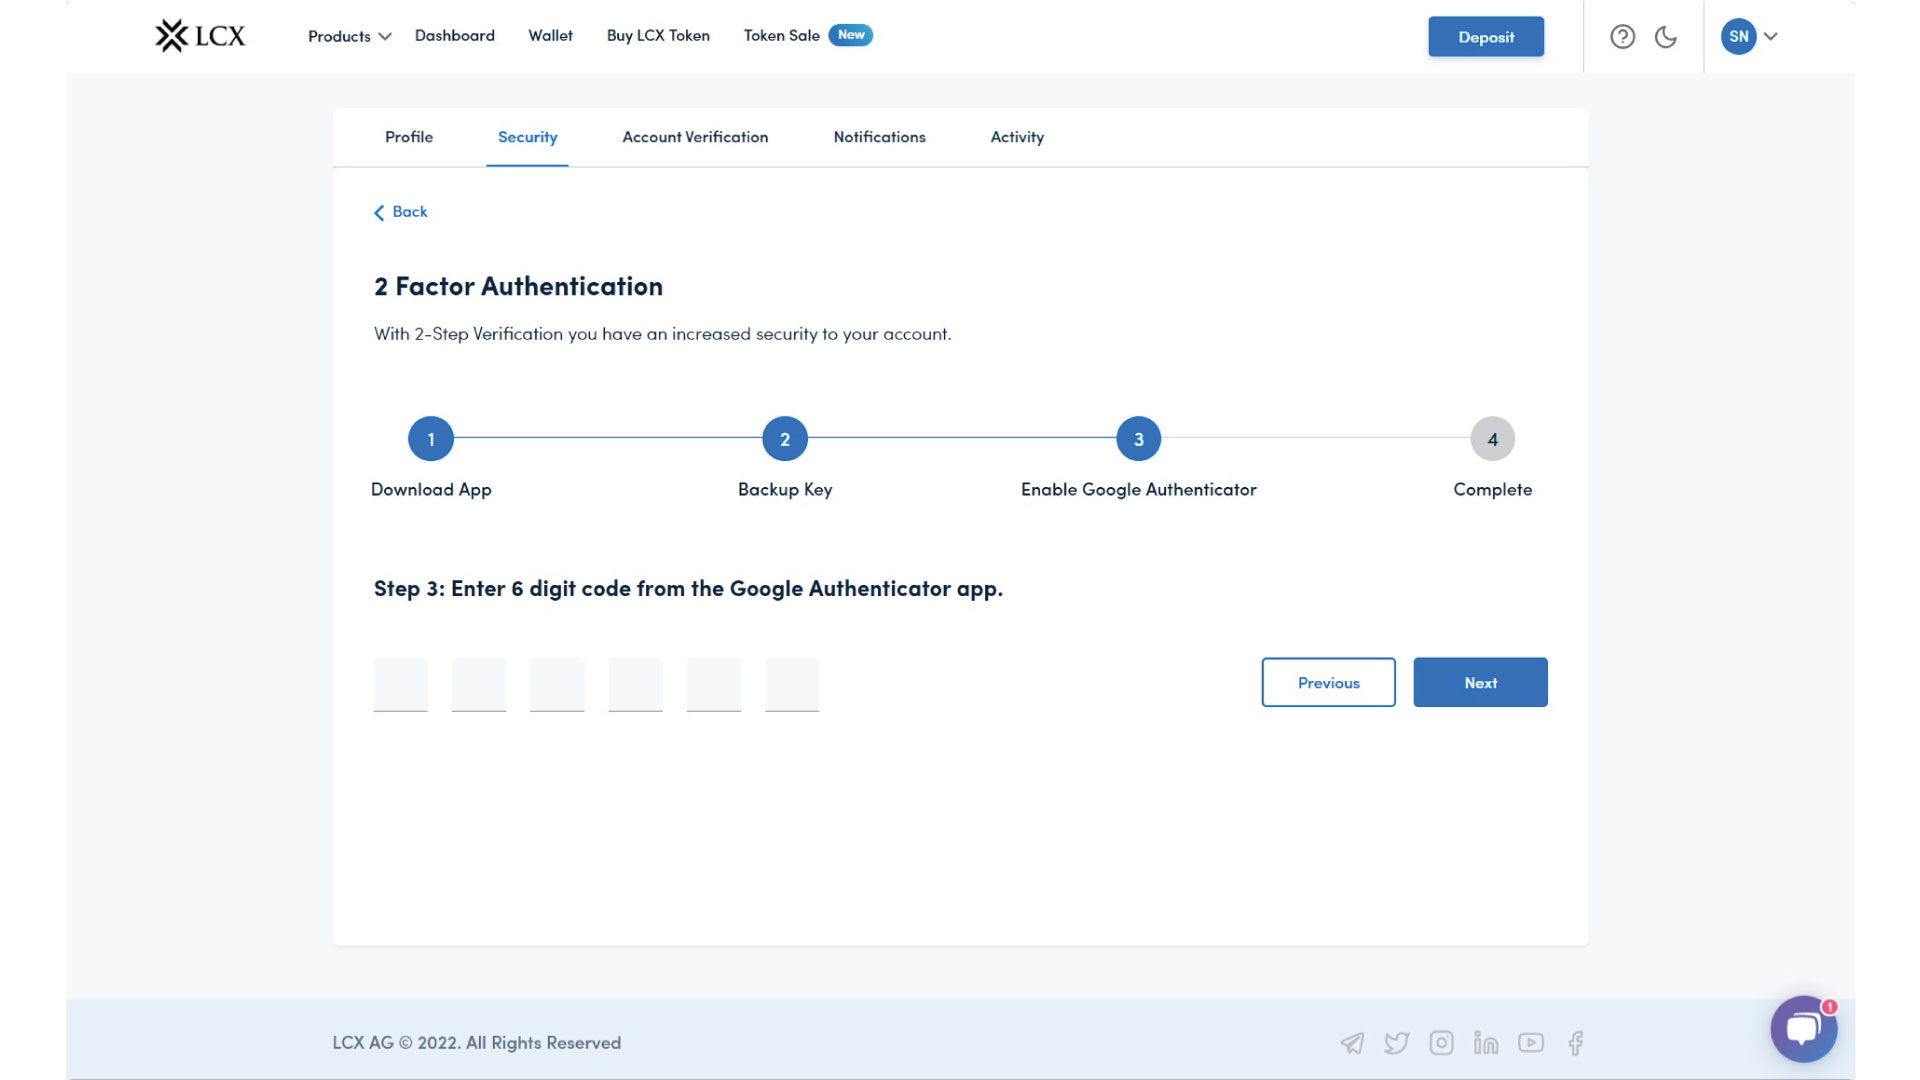
3. Go to Security > 2 Factor Authentication.
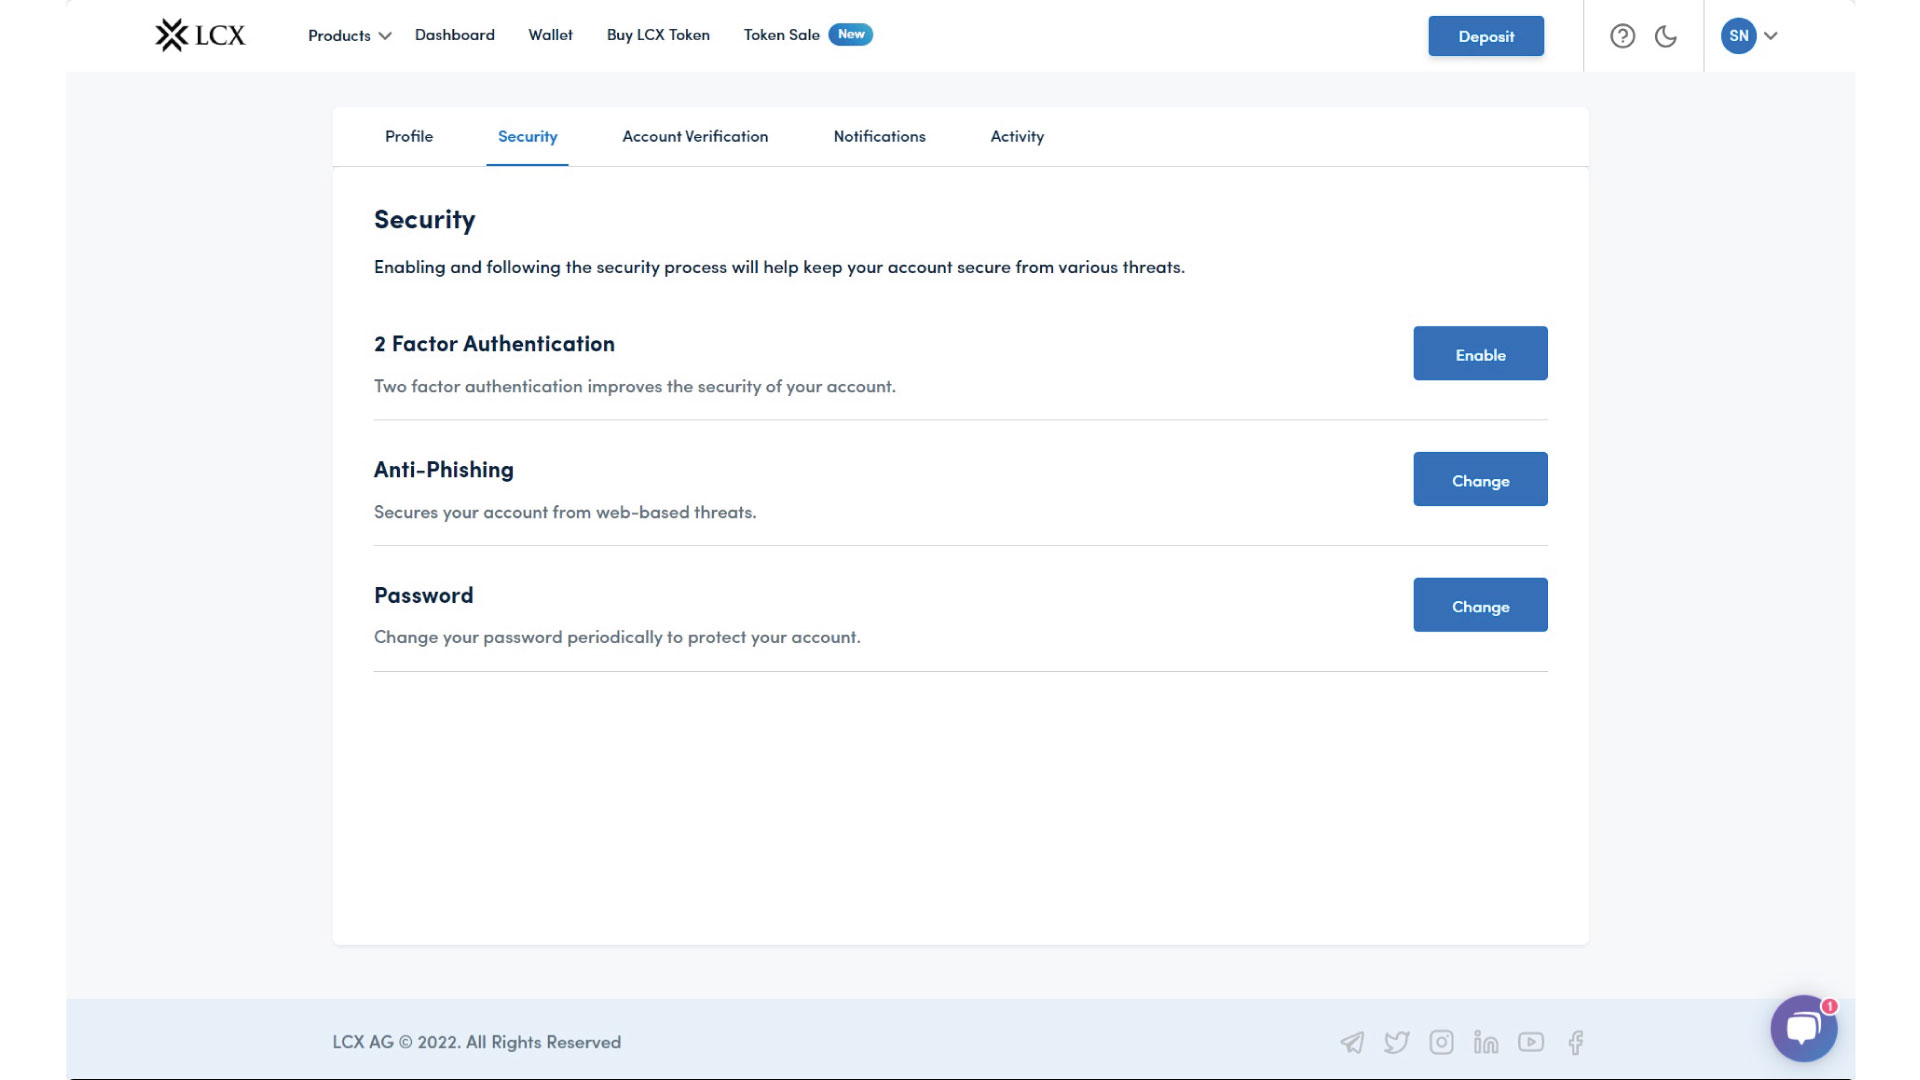
4. Follow the step-by-step instructions to enable Google Authenticator.
Download and Install Google Authentication App and Click on Next.

5. You’ll see a QR code on your screen.
Open the Google Authenticator App on your device, click on the [+] icon, and scan the QR code.
6. Click on Next.
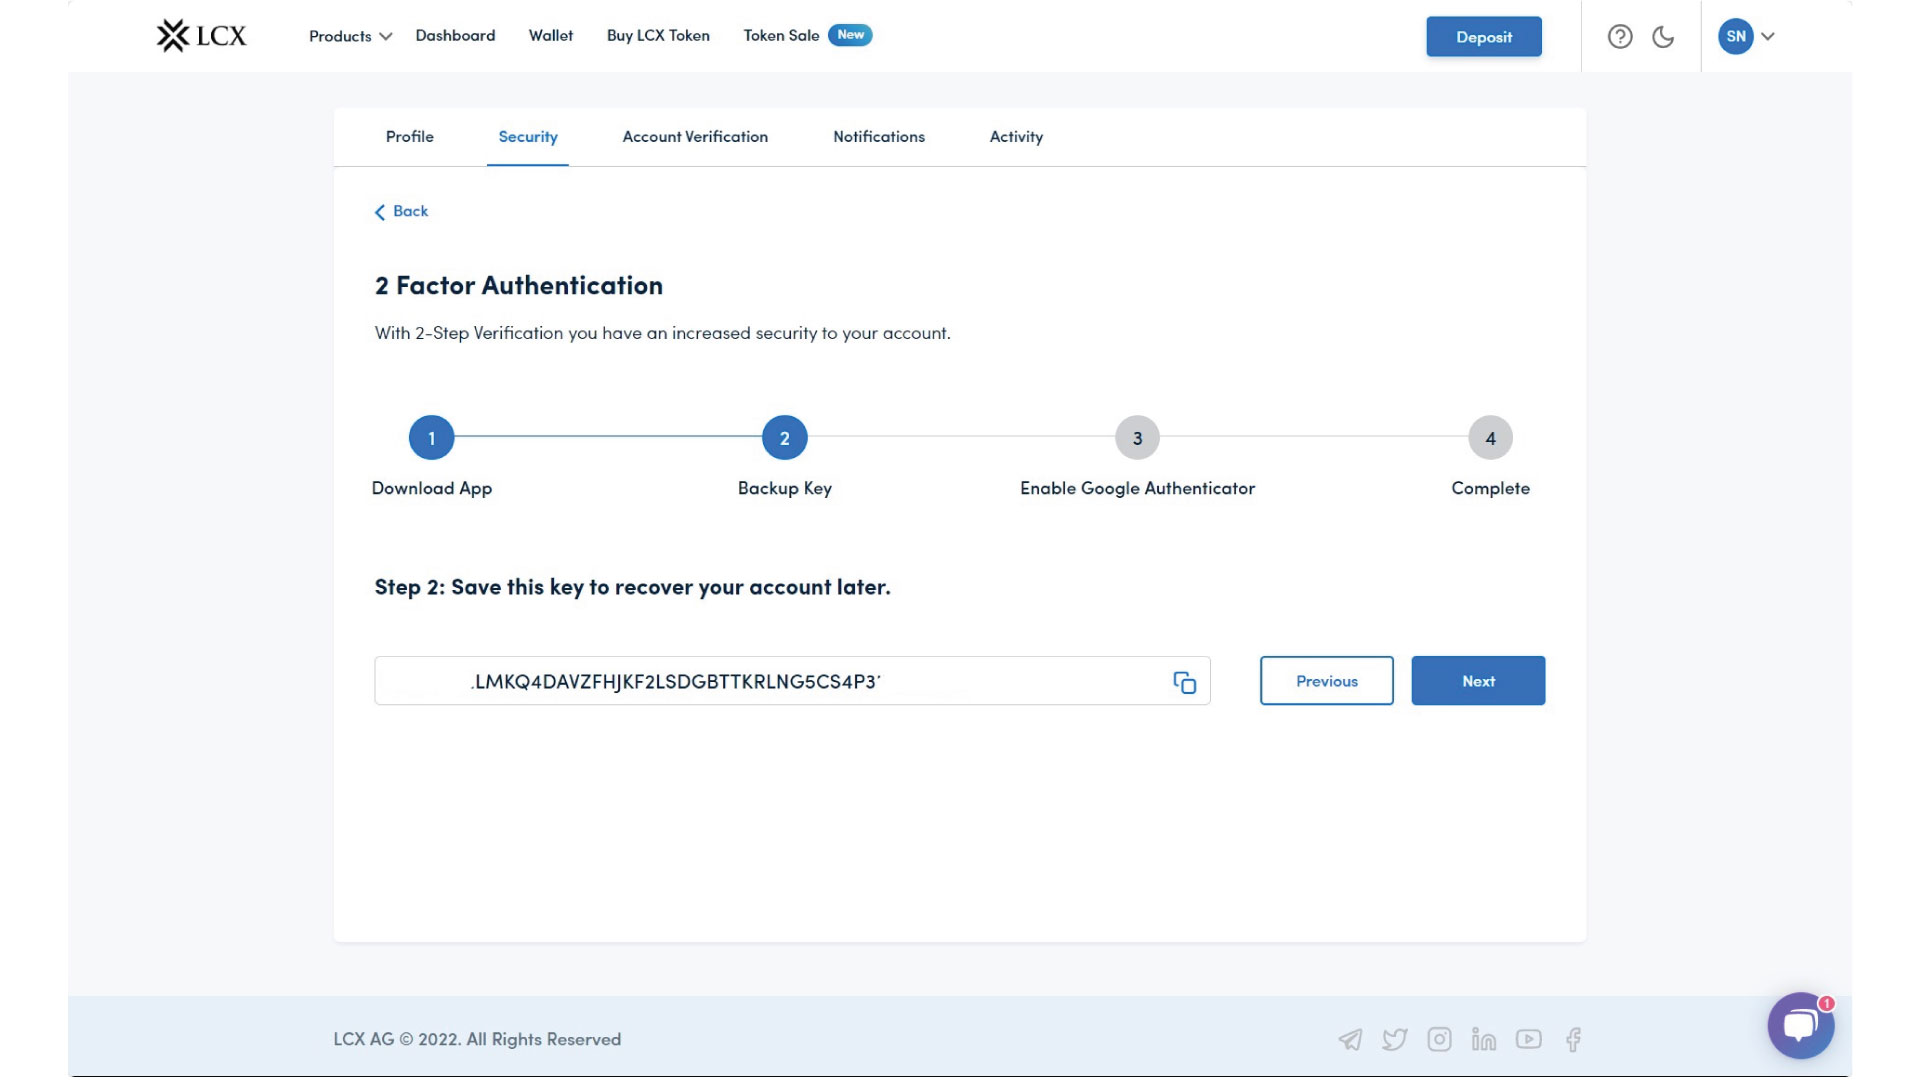
7. Save the mentioned key on paper. It will allow you to recover your Google Authentication in case of phone loss.
8. Click on Next.
9. Copy 6 digit code from the Google Authenticator app.
Open the Google Authenticator app on your device, and you’ll find a unique code on your screen, paste the same code in the text box and click on Enable Google Authentication.
10. Your account is now secured with 2FA.